
Multiprocessing, Distributed applications…등을 좀 찾다가 RAY라는 것을 보았습니다.
이거슨..무엇일까…
찾아보니 Python 에서 이를 쉽게 할 수있도록 해주는 패키지 입니다.
(자세한 설명은 여기 링크로…)
포스팅은 Ray **튜토리얼 문서 중 Tips for first-time users**를 참고하여 작성했습니다.
세상 간단합니다….
pip install ray
공식 홈페이지에 있는 예시를 한번 보겠습니다.
입력 x를 그대로 출력하는 함수인데 중간데 1초 딜레이를 넣었습니다.
Ray 적용 전
import time

def do_some_work(x):
    time.sleep(1)
    return x

start = time.time()
results = [do_some_work(x) for x in range(4)]
print("duration =", time.time() - start)
print("results = ", results)

# results: [0, 1, 2, 3]
# Elapsed Time: 4.02s
Ray 적용 후
import time
import ray

ray.init()

@ray.remote
def do_some_work(x):
    time.sleep(1)
    return x

start = time.time()
results = ray.get([do_some_work.remote(x) for x in range(4)])
print("duration =", time.time() - start)
print("results = ", results)

# 2024-05-08 23:02:50,000 INFO worker.py:1749 -- Started a local Ray instance.
# results: [0, 1, 2, 3]
# Elapsed Time: 1.01s
음…확실히 빨라졌습니다… 기본 for loop로 돌리니 4초 정도가 걸리는데 ray를 적용하니 1초가 걸립니다! 제 맥북의 코어가 6개인걸 생각하면 속도는 맞는것 같네요. 그럼 이미지 4장을 처리하는 예시를 해보겠습니다.
Ray 적용 전
import os, time
import numpy as np
from PIL import Image
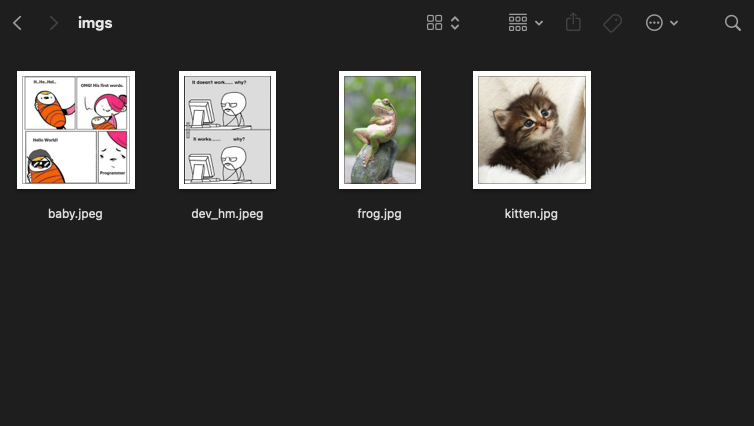
root = 'imgs'
img_path_list = [os.path.join(root, img_name) for img_name in os.listdir(root) if img_name != '.DS_Store']
def read_img(img_path):
img = Image.open(img_path)
img = img.resize((256, 256))
return np.array(img)
start = time.time()
results = np.array([read_img(x) for x in img_path_list])
print(f"Result: {results.shape}")
print(f"Elapsed Time: {time.time() - start:.2f}s")
# Result: (4, 256, 256, 3)
# Elapsed Time: 0.03s
Ray 적용 후
import os, time
import numpy as np
from PIL import Image
root = 'imgs'
img_path_list = [os.path.join(root, img_name) for img_name in os.listdir(root) if img_name != '.DS_Store']

def read_img(img_path):
    img = Image.open(img_path)
    img = img.resize((256, 256))
    return np.array(img)

start = time.time()
results = np.array(ray.get([read_img.remote(x) for x in img_path_list]))
print(f"Result: {results.shape}")
print(f"Elapsed Time: {time.time() - start:.2f}s")

# 2024-05-08 22:59:58,234 INFO worker.py:1749 -- Started a local Ray instance.
# Result: (4, 256, 256, 3)
# Elapsed Time: 0.07s
시간이 오히려 더 걸리네요! 한번 이미지 수를 늘려서 테스트 해보겠습니다!
| 이미지 수 | Ray 적용 전 속도 | Ray 적용 후 속도 |
|---|---|---|
| 4 | 0.03초 | 0.07초 |
| 8 | 0.04초 | 0.12초 |
| 16 | 0.09초 | 0.13초 |
| 32 | 0.15초 | 0.13초 |
| 64 | 0.31초 | 0.17초 |
| 128 | 0.57초 | 0.25초 |
이미지가 많을 수록 점점 차이가 줄어들 더니 어느 순간부터는 Ray가 빨라집니다!
상황에 따라 적당히 사용하시면 매우 효율적일 것 같네요.
간단 포스팅은 여기서 마치는걸로 하겠습니다.
감사합니다!